
How to Use a Driveway Marker Installation Tool
Putting in driveway markers (also known as snow stakes) can be frustrating work. If you’re looking for an easier way to do it, then The ROP Shop’s driveway marker installation tool is just what you need.
Ideally your driveway markers will be in the ground by early October, but sometimes life gets in the way. The good news is that even if you got behind or have to replace a marker mid-winter (which means fighting with the frozen ground), our tool should make installing your snow stakes easier.
DRIVEWAY MARKER INSTALLATION TOOL: BENEFITS AND FEATURES

What is it about this tool that makes it so handy for putting in your snow stakes? Check it out:
- Makes for a more vertical stake installation.
- Doesn’t require bending over, so it’s easier on your back.
- Doesn’t need to be recharged.
- Won’t make you burn through drill bits.
- Comes with a handle for a firm grip.
- Kick plate allows greater force for installing in hard or rocky soil.
- Kick plate ensures consistent installation depth.
- Spike support square decreases the likelihood of the spike bending or breaking in hard or rocky soil.


HOW TO PUT IN SNOW STAKES USING OUR INSTALLATION TOOL
- Select the stake you plan to install. (Pro tip: using multi-colored driveway markers will help you differentiate between important obstacles, like speed bumps, drains, hydrants, and so on.)
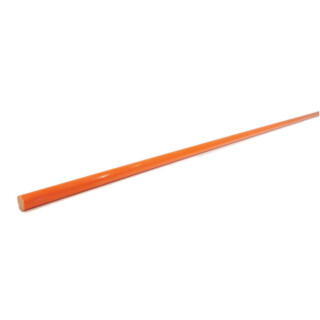
- Place the tip of the spike in the spot where you want to install the marker.
- Using the kick plate and handle, apply downward pressure to the tool until the spike goes in and the kick plate is flush with the ground.
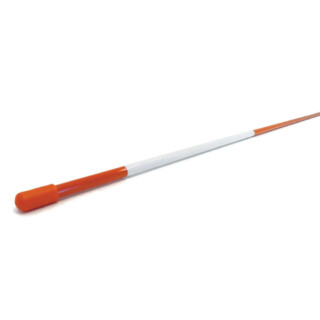
- Remove the spike and insert your chosen driveway marker into the hole.
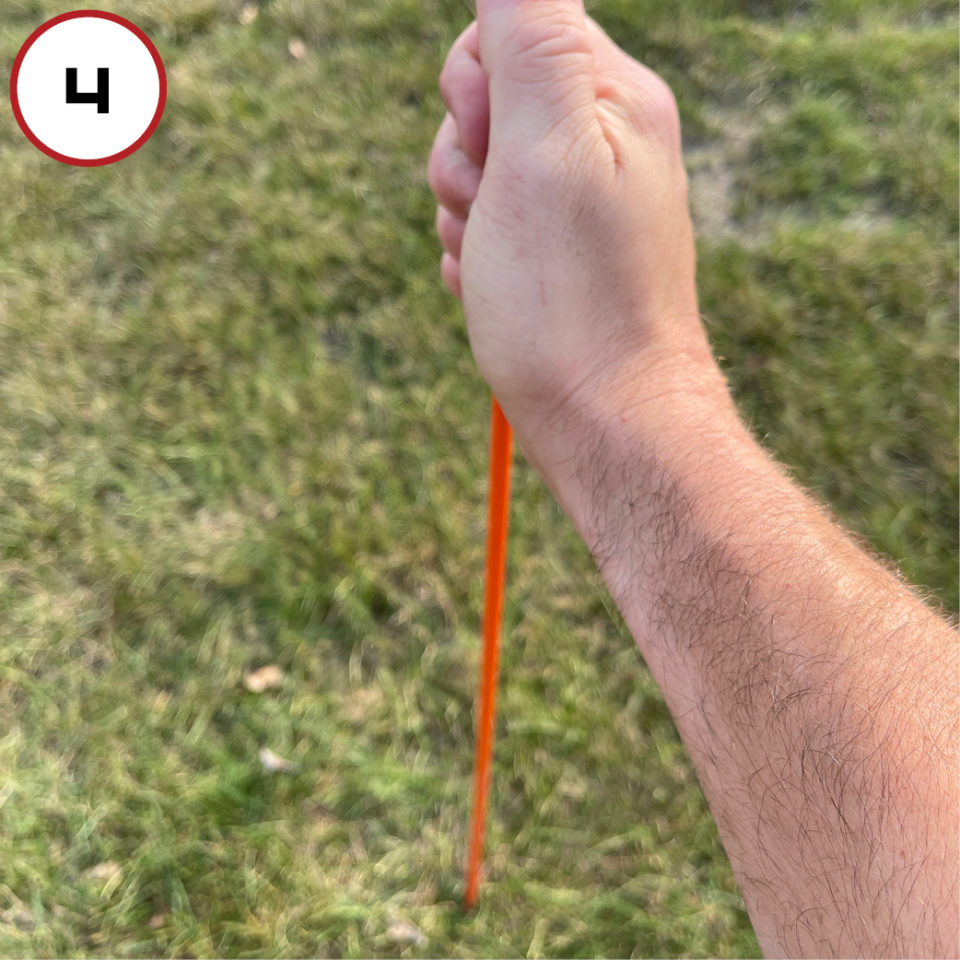
- Flip the installer tool over. Near the handle you’ll see an opening. Use it to slide the housing over the stake. (The opening will work for our 1/4” or our 5/16” stakes.)
- Using the kick plate as a handle and the shaft of the tool as a slide hammer, pound the stake in a bit deeper. Your ideal depth will depend on the ground and snow conditions in your area.
Repeat these steps for each driveway marker.
You’ll probably want to put your markers approximately 10 to 15 feet apart depending on the exact layout of the area you’re marking. If there are a lot of curves or hills, you may want to place the markers closer together to define the terrain better.
You can also take a look at our quick video on using our tool.


Conclusion
Using snow stakes is a great way to increase visibility and protect your property, so why not make the installation process easy? Grab one of our installation tools today.
In need of other snow removal accessories to help you weather the winter? We carry a wide selection of snow removal parts and accessories. If you have questions on any of our products, just contact our customer service department! We’re happy to help you out.
[EDITED 9/2023]

Having trouble using your ROP Shop pressure washer surface cleaner? These tips can help you out.

Thinking about getting a pressure washer? Here are eight advantages to owning a pressure washer to help convince you.

Installing a new pressure washer pump doesn’t have to be a hassle. Let The ROP Shop walk you through it.

Ready to learn how to pressure wash quickly, effectively, and safely? Check out these eleven tips.